Words from Owner..

Salam and Hello to all readers who have drop by here..thanks coz spend your time to view my blog..This blog provide you many type of recipes from many cuisine in this world..all recipes are not mine..i get this all recipes from many web site and blog and mostly from Kuali.com and Rasa Malaysia.. thanks to all web site & blog authors who give me permissions to share their recipes and put it on my page..tqvm!


regards,
hudafaizal


Sunday, May 2, 2010

Chicken Masala

Good marsala wine is obviously a key ingredient in Chicken Marsala, but what else is needed to make a successful version of this sweet and savory Sicilian classic? Not much else except some patience and attentiveness. Mushrooms are a necessity, but I left out the onions, shallots, chicken stock, tomatoes, flour, capers, lemon, and whatever else all the internet recipes tell you to put into the dish. I wanted to create an easy, no mess version of Chicken Marsala that captured the fundamental essence of the dish and here it is.

Chicken Marsala, like any dish that's been around for generations, comes in a variety of forms with all sorts of family secrets or preferences. I've prepared the easiest, good tasting recipe that I've been able to come up with for this dish and still be called a great Chicken Marsala. As in all the recipes that I post on this website, additional ingredients can be added to your liking. Not only that, I encourage you to do your own experimenting as well!

A lot of recipes call for thin sliced chicken breast meat. The breasts should be washed, patted dry, and lightly floured. The idea is that the thin cuts will not require much cooking time and the flour would protect the breast from drying out while it's cooking. This is true, but there's always potential for making a mess when you flour the chicken. I also found that flouring the chicken wasn't as easy as it looked. If you use too much, then the flour falls off in chunks as you cook it. Use too little and it seems like it was pointless to flour the chicken in the first place. My solution? Brine the chicken breasts, skip the flour.

Brining is the act of soaking ingredients (in our case, chicken) in water with salt (and sometimes sugar). This soak causes salt to penetrate into the chicken meat and at the same time pulls more water in. The meat becomes more plump and flavorful. Brining a chicken breast prior to cooking makes it much easier to produce a tender, juicy breast. I brined my chicken breasts in a plastic bag with 4 cups water with 4 Tbs. table salt for one hour. After an hour, remove the breasts and rinse off the breasts (or they will be too salty).
I brought together the three brined chicken breasts (about 1/2 lb. or 250 g each), 1 cup sweet marsala wine, and 4 ounces sliced button mushrooms. I did not cut my breasts into thin pieces (to show that it's not necessary), but some people prefer a thinner cut. If you're one of them, go ahead and cut your breasts in half and poudn them down with a meat mallet. The sweet marsala wine should be of drinkable quality. I cut the mushrooms into thick cuts, but quartering, halving, or even leaving the mushrooms whole work well.


Salt and pepper the breasts. Heat about 2 tablespoons of oil on medium-high and pan fry the breasts for a few minutes. The exact time depends on the thickeness of the breasts. The breast will change color while it's cooking from pink to white. When the bottom half has changed color, flip the breasts over and cook the raw side of the breast.

Here's where extra attentiveness is important. The objective is to cook the breast until it has just fully cooked. In the Grilled Skinless Chicken Breast article, I advocated learning to tell is chicken breast is done by touch. Well, here's where it comes in handy. If you know how chicken breast feels (level of springiness, hardness, etc.) then use this method to check one when the breasts are fully cooked. I once asked the chef at my local Buca di Beppo's how he made his Chicken Marsala so tender, and he responded mysteriously, "You have to watch the chicken. No, really watch it. You will know when it is done." Well, I'm saying you need to watch and press on it once in a while. If you're not familiar with the touch technique, then simply cut a hole into the thickest part of a breast and see what color liquid flows out. If the liquid has tints of color and is opaque, then keep cooking the chicken. If the liquid is clear (like oily water), then the chicken breast is done.

Remove the fully cooked chicken to a plate and throw the mushrooms into the pan. Don't worry if there are burnt bits of chicken still in the pan because these will help flavor the sauce. If there are any larger chunks of chicken, remove them because they will overcook and become stringy and tough. Spread the mushrooms into a single layer and allow them to cook for a minute.
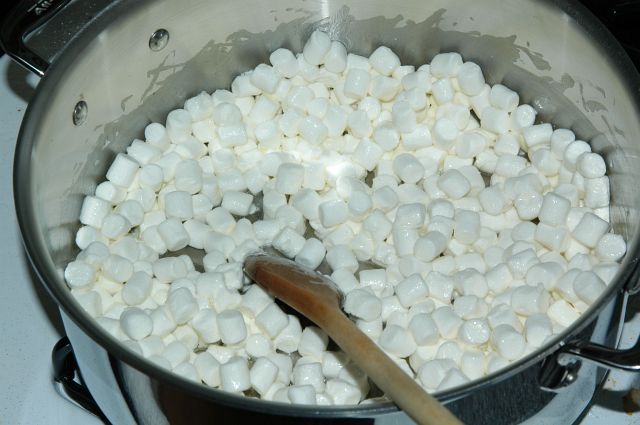

Pour the cup of sweet Marsala wine into the pan a this point and allow it to reduce for a couple minutes. We want it to thicken slightly, but not so much that it coats the back of a spoon.
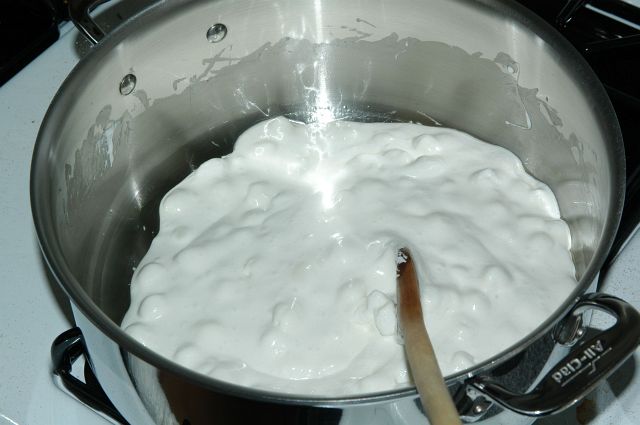

Now pour in four tablespoons heavy cream and mix until integrated.

Stir occassionally until this mixture reduces to the point where it will coat the back of a spoon or leave a trail at the bottom of the pan when scraped
(see picture below).
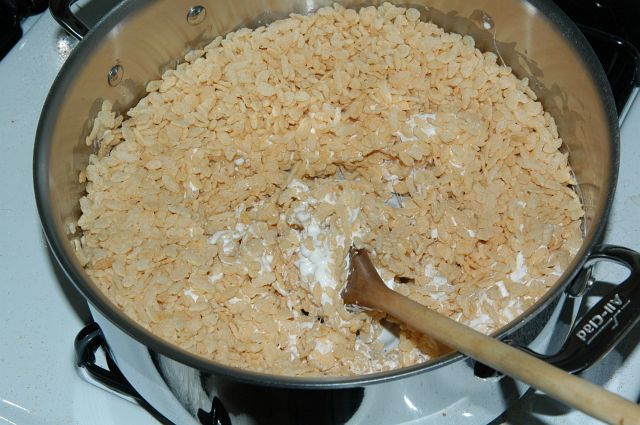


At this point, reintroduce the breasts and roll them around in the sauce until they have been coated with sauce and have warmed up again.

Turn off the heat and move the breasts to a serving tray, covering with mushrooms and sauce. The breast meat should be perfectly tender and juicy while the sauce clings to any available surface. Tina described the chicken as amazingly soft and the mushrooms as "little bombs of flavor". At first she was skeptical about chicken marsala, but after tasting this, she was convinced of how delicious this dish can be.


Chicken Marsala (serves six)
3 chicken breastsbrineseasoncook medium-highremovecoat with sauce
salt
pepper
4 oz. (120 g) button mushroomsslicecook 1 min.reducereduce
1 cup sweet marsala wine
4 Tbs. heavy cream
Copyright Michael Chu 2004 

Tuesday, April 27, 2010

How to Made Chocolate Truffles

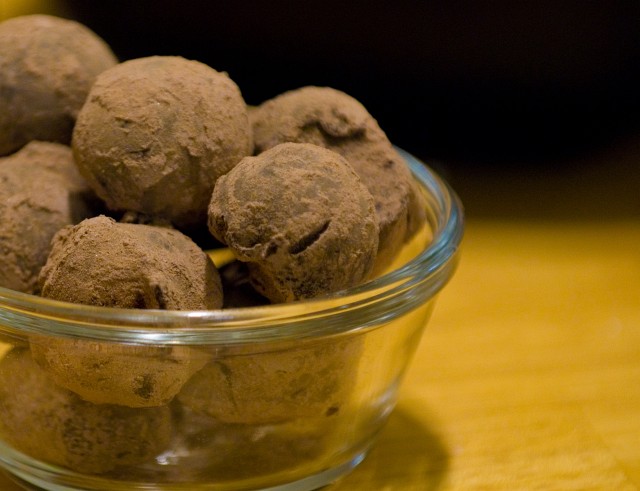
Chocolate truffles are traditionally made with ganache shaped into rough spheres by hand and covered in cocoa powder. The powdery coating and imperfect shaping of the confections make them appear similar to dirt covered truffles - the famed culinary fungi. Chocolate truffles are easy to prepare at home and make irresistible desserts that will make you a welcome guest at any holiday party.

Even though the center of a truffle is traditionally ganache, truffles can be made with a variety of fillings ranging from nuts to caramel to nougat. When not made with ganache, these truffles are generally coated in a thin shell of hard chocolate. The truffles in this recipe will be made with a ganache center.

Ganache is simply a mixture of chocolate and cream. For the centers of these truffles, we'll make hard ganache - utilizing significantly more chocolate than cream. A ratio of about 2 to 1 of chocolate to cream by mass will yield a dense ganache appropriate for making truffles.

Obtain 1 pound (455 g) of dark chocolate and 1 cup (235 mL) heavy whipping cream. Be sure to select a chocolate that you enjoy the flavor of.


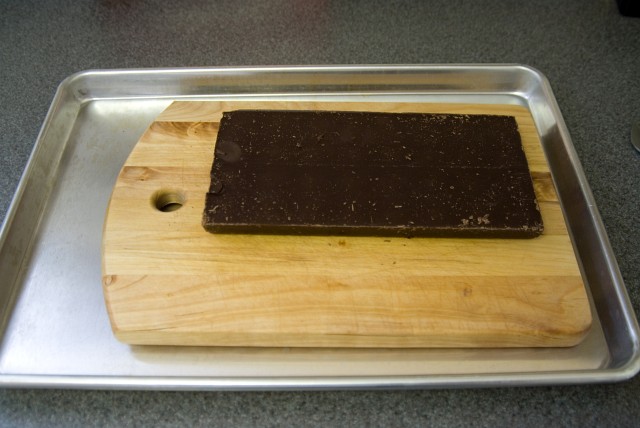
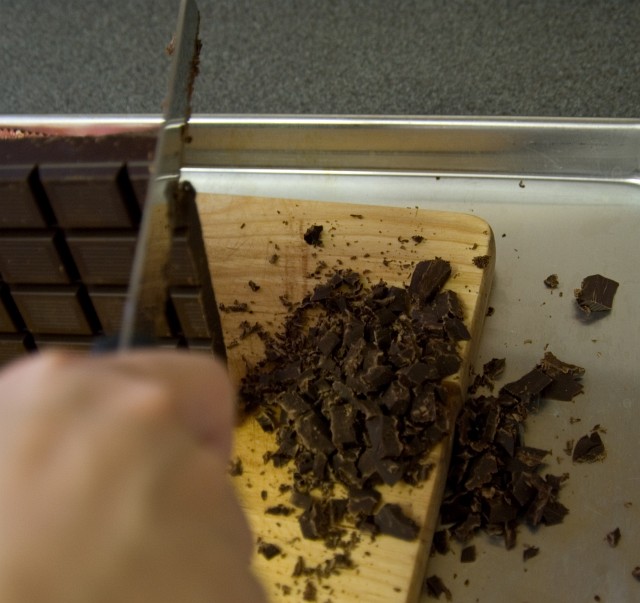
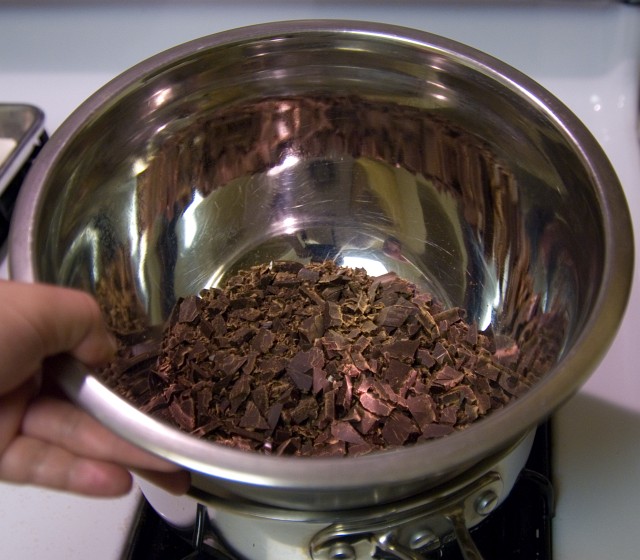
Cut the chocolate into pieces using a large serrated knife (like a sturdy bread knife). Cutting the chocolate into strips about 5 mm apart with the serrated knife will cause the chocolate to break into small pieces. Pieces of chocolate will fall all over the place, so I like to place the cutting board in a sheet pan to catch the chocolate shards.


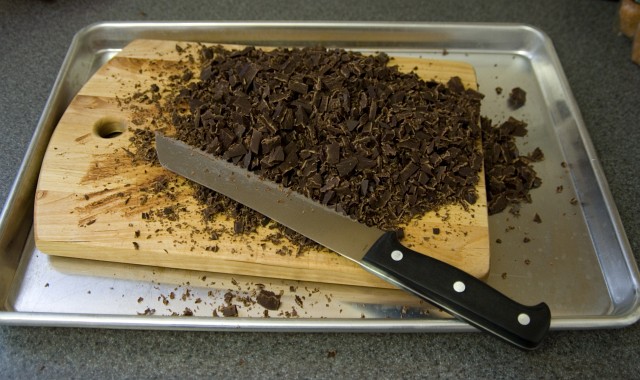
After breaking down the whole pound of chocolate, you should have a bunch of similarly sized pieces. Small, uniformly sized pieces will make melting the chocolate evenly easier. Pour all the pieces into a medium heat proof bowl.


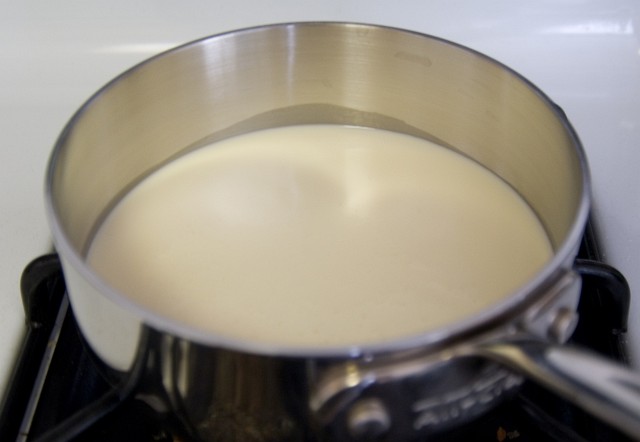
Bring the cup of heavy whipping cream just to a boil. (This is called scalding.)


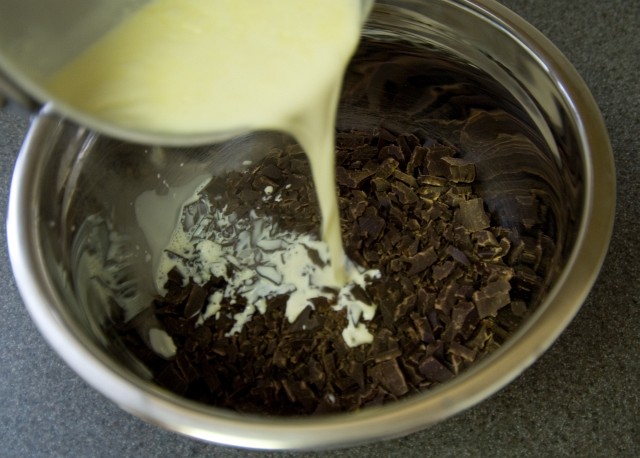
Pour the scalded heavy cream onto the chocolate and allow it to sit for five minutes.


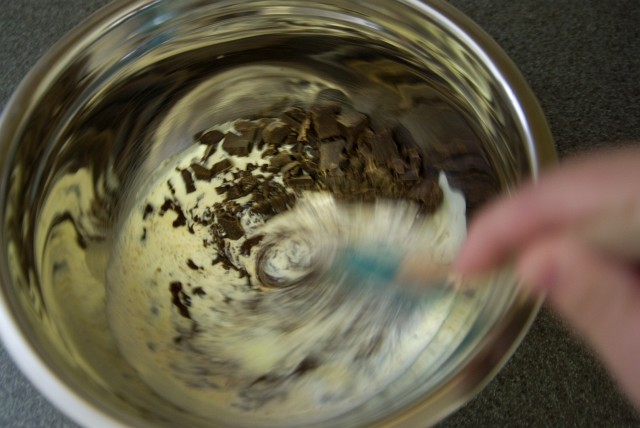
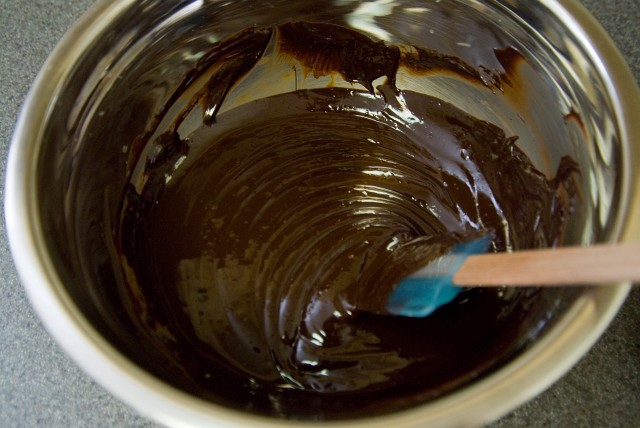
Stir the now melted chocolate with the cream. Chocolate and small amounts of aqueous solutions (liquids containing water) do not mix well - the chocolate clumps up in what is called seizing. However, when a substantial amount of liquid is added to the chocolate, we can make chocolate syrup. A ganache is simply a syrup of chocolate and cream that does not contain enough cream to be liquid at room temperature. Once this mixture cools, it will form a hard ganache that can be molded into shapes.


The melted ganache should be smooth in texture without lumps. If not all the chocolate has melted, you can heat the ganache gently over a hot pot of water. Stir until the chocolate melts and the ganache is smooth.


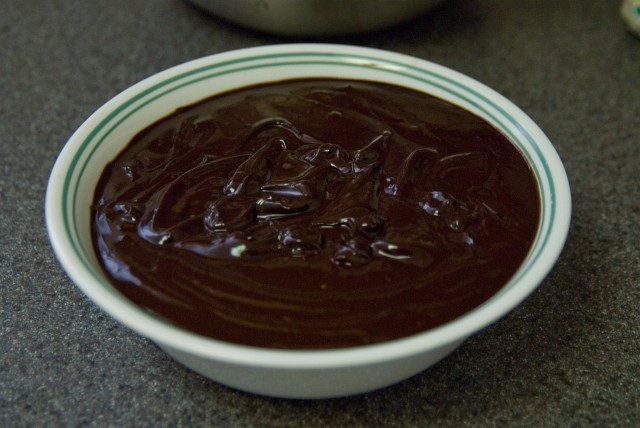
You can transfer the ganache into a smaller bowl to cool. When the ganache is solid, it may be easier for you to scoop out when working with a smaller bowl. Let the ganache cool down and chill for about an hour in the refrigerator to harden. Cold ganache is harder to scoop, but easier to form into a ball.


Using a melon baller or small ice cream scoop (such as a #70), scoop out balls of hard ganache and place on a cookie sheet lined with either parchment paper or a silicone baking mat. As the ganache gets warmer, it will have a tendency to stick to the scooping device. You might find it easier to work with after rechilling the ganache, dipping the utensil in ice water, or simply using your hands to form rough spheres.


After forming all the balls, chill the pan in the refrigerator for fifteen minutes to allow the ganache to harden back up and set into their shapes.


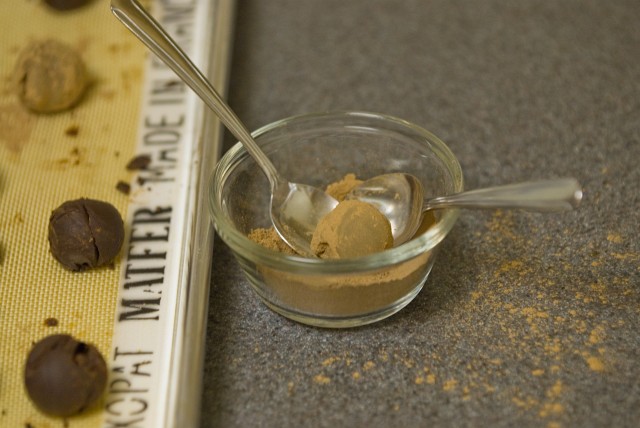
Scoop a little cocoa powder into a small bowl. Use a pair of spoons to pick up and roll each ganache ball in the cocoa powder to coat.


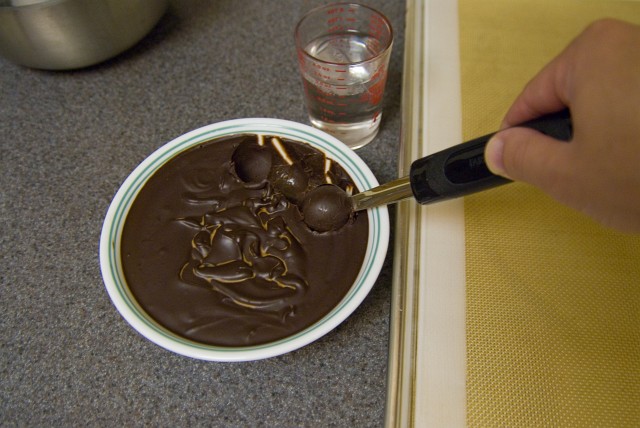
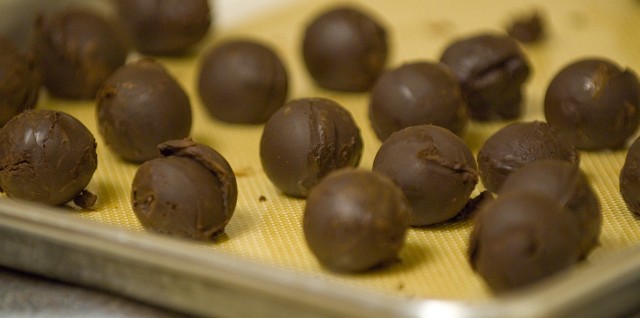
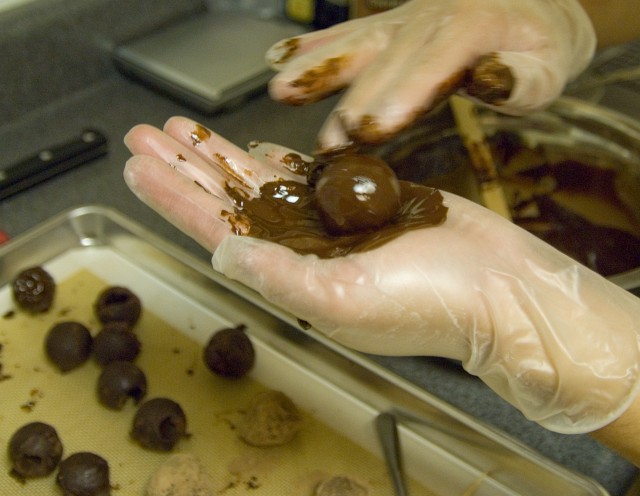
If you prefer a hard chocolate shell, then you'll need to melt and temper some chocolate(usually, a couple ounces will be more than enough to coat the truffles). Once the chocolate has been tempered, use a spatula to spread some onto the palm of one hand. Place the ball of ganache into the layer of chocolate and rotate, coating the ball. Place the truffle on a sheet of parchment paper or silicone baking mat or other nonstick surface for it to cool and set. Repeat the spreading of chocolate on the palm and coating for each truffle. The tempered chocolate will shrink slightly as it cools and clad itself to the ganache. Because of this shrinking action, if it cools too rapidly, the shell can crack, so don't immediately chill them in the refrigerator - allow the truffles to set in a cool room. The ganache should also be allowed to warm up a bit before you coat them. After the chocolate has hardened, chill for 15 minutes in the refrigerator and then remove and store at room temperature. The chocolate coated truffles should not be allowed to touch each other (touching the truffles together can mar the hard surface of the truffles) - so divide them with small paper cups or paper muffin liners.


The cocoa dusted truffles can be packed together without harm. These truffles can be stored at cool room temperature in an airtight container for at least a month - but good luck keeping them from being eaten for that long!


Chocolate Truffles (yields about 32 to 36 truffles)

1 lb. (455 g) dark chocolatecut into small piecespour onto chocolatewait 5 min.stir until smoothchillform into ballsdust
1 cup (235 mL) heavy whipping creamscald
cocoa powder


Tempering Chocolate
When melted chocolate returns to solid form the cocoa butter in the chocolate forms a crystal structure. The strange (or cool depending on who you're talking to) thing about cocoa butter is that the crystal structure they take on depends on the temperature at which they are formed. If the chocolate is allowed to cool on its own, the crystals of fat will be loose, resulting in a chocolate that is dull in appearance, soft & malleable, and greasy to the touch. This loose crystalline structure has a slightly lower melting point than tempered chocolate crystals. If, instead, while cooling, the chocolate is kept at 88°F (31°C), the loose crystal structure will not form (88°F is above the formation point of the loose crystals). At this temperature the cocoa butter actually forms a dense crystalline structure. Holding the chocolate at this temperature and stirring will allow a whole bunch of these stable crystal structures to form providing a lot of seed crystals to form in the chocolate. When the chocolate is finally allowed to fully cool, if there are enough stable seed crystals, then the chocolate will harden into a very stable hard chocolate with a slight sheen, snap when broken, and will keep for months at cool room temperature. Tempered chocolate provides enough stability to be worked into a variety of shapes - sheets, painted onto leaves and peeled off, flowers, cups, and molds. It also helps prevent the cocoa butter from rising to the surface of the chocolate and blooming into unsightly light brown markings or coatings.

To temper, most chocolate books will tell you to fully melt the chocolate and then to pour 3/4 of the chocolate onto a marble slab and repeatedly fold the chocolate onto itself and smear it across the marble until the chocolate is a uniform 82°F (28°C). The chocolate is then returned to the remaining hot chocolate and stirred in. The final mixture is either reheated or the residual heat is enough to bring the temperature back up to 88-90°F (31-32°C). This technique is can be a bit tricky and requires a marble slab (or other large, flat, cool surface like a sheet of aluminum or upside down sheet pan), a plastic scraper for smearing the chocolate (a spatula will also work), and a chocolate thermometer (an instant read that can measure accurately to the degree like the Thermapen will also work fine). The chocolate needs to be worked sufficiently on the marble slab for enough seed crystals to form, so you have to work relatively quickly as the chocolate cools. A good way to tell when you've reached the right temperature and stage is to pay attention to the viscosity of the chocolate. When the chocolate begins to thicken a little, you've reached the point where seed crystals are forming and you should be able to reincorporate it into the rest of the chocolate. The tempered chocolate must then be kept at tempering temperature, 88-90°F (31-32°C) until used.

I find that the seed method (as described in The Professional Chef) is a little easier. Since almost all the chocolate that is sold is already tempered, we can use a piece of this already tempered chocolate as a plentiful source of seed crystals.

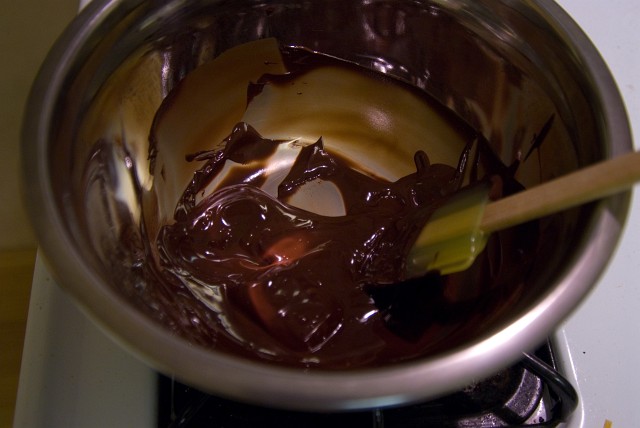
Melt the chocolate in a double boiler while stirring to ensure unform temperature.


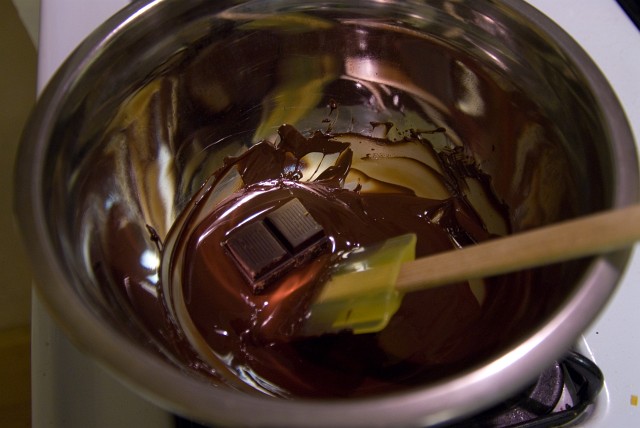
Once the chocolate has fully melted and reached a temperature of over 105°F (41°C), remove it from the heat. At this temperature, all the crystals, loose or stable, should be melted. Add a piece of unmelted chocolate to provide the seed crystals. This piece can be as big as 2 ounces (if you're melting a sizeable amount of chocolate) or can be chopped up into a few smaller pieces.


Stir until the chocolate's temperature enters the tempering range, 88-90°F (31-32°C). The chocolate should be kept at this temperature until used.


Specific Tempering Temperatures
Depending on the cocoa butter content of the chocolate and introduction of other ingredients, the tempering temperature of chocolate varies. Harold McGee's On Food and Cooking provides these values for the three broad categories of chocolate:
Type of ChocolateTempering Temperature
Dark (no milk content)88-90°F (31-32°C)
Milk86-88°F (30-31°C)
White80-82°F (27-28°C)

Note that although white chocolate does not contain any cacao solids, it is still subject to the same tempering procedures since it is made of cocoa butter.

Storage
Tempered chocolate can be stored for several months without blooming at constant cool room temperature, 60-65°F (15-18°C).

Friday, April 23, 2010

Chocolate Truffles

9.jpg (1306×980)

Tuesday, April 13, 2010

Basic Vinaigrette Salad Dressing

Vinaigrette (/vÉŖnÉ™ĖˆÉ”rɛt/) is a mixture (emulsion) of olive oil and vinegar, often flavored with herbsspices, and other ingredients. It is used most commonly as a salad dressing,[1] but also as a cold sauce or marinade.


A flavorful salad dressing can be easily made by combining some simple ingredients together. I usually start with 2 parts oil and 1 part vinegar in my vinaigrette dressings. The oil and vinegar can be combined with a blender, food processor, whisk, or jar. In the end it really doesn't matter how you choose to combine the oil and vinegar so long as we get an emulsion (where the vinegar is finely separated and suspended in the oil).

Blender and food processor:
Start with the vinegar and any herbs & spices you want in the blender or processor. Blend briefly. Dribble in oil while blending until all of the oil is in the mixture. (I should mention that although several recipes call for using a food processor, I would prefer to do make the sauce in a bar blender. Often, it is harder to clean the food processor than a blender when dealing with extremely liquid foods.)

Whisk:
Start with the vinegar and any herbs & spices you want in a mixing bowl. Whisk in the oil one tablespoon at a time for about half of the oil. Then whisk in the rest two to three tablespoons at a time.

Jar (my favorite):
Start with the vinegar and any herbs & spices you want in a jar. Pour in one tablespoon of oil. Screw lid back on jar and shake vigorously. Continue pouring in oil and shaking until half the oil has been integrated. Continue by pouring two or three tablespoons at a time.

After the dressing is made, you can safely store it in the refrigerator for about two weeks.


Basic Vinaigrette Salad Dressing 

1 cup extra virgin olive oilblend together slowly
1/2 cup balsamic vinegarcombine
3 cloves garlic, pressed
1 tsp. oregano
1/4 tsp. rosemary, crushed